
Automate, customize, and optimize your CS-Cart store’s event tracking and rules configuration with Google Tag Manager Pro – giving you smarter control over how user interactions are monitored and reported.
Availability:In Stock
| Product Version | 1.0 |
|---|---|
| Supported Versions | 4.x.x.x, 4.0.0.0, 4.0.1.0, 4.0.1.1, 4.0.2.0, 4.0.2.1, 4.0.2.2, 4.0.2.3, 4.1.0.0 |
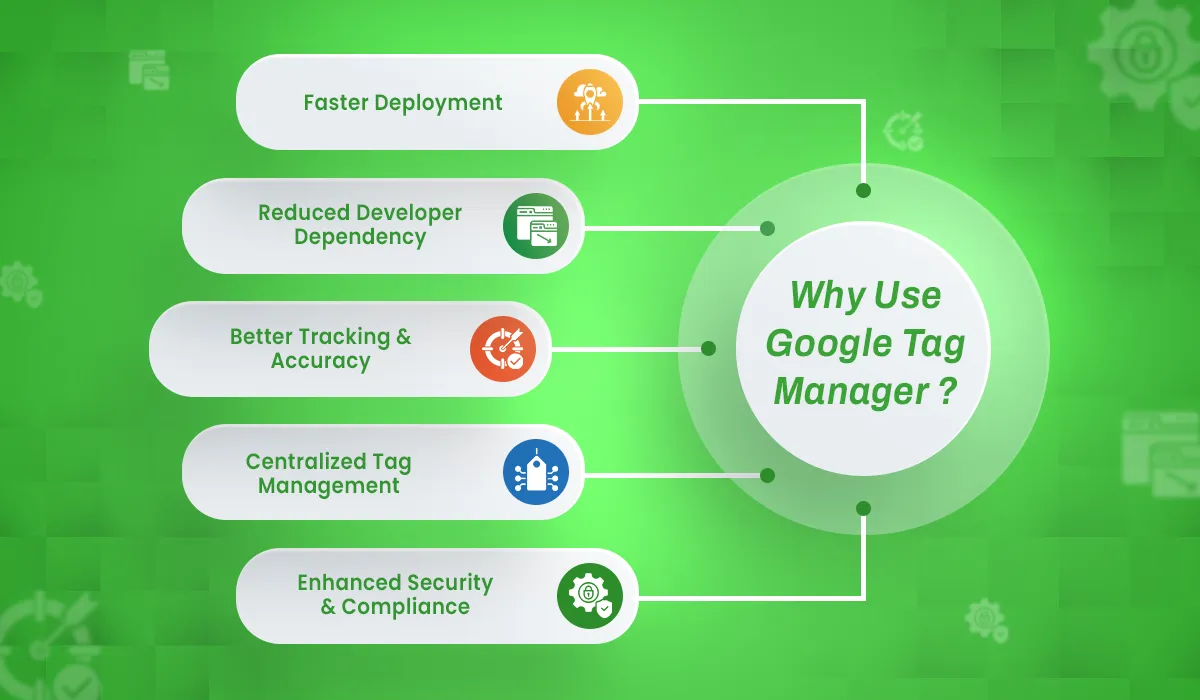
Juggling multiple tracking codes, conversion pixels, and analytics scripts across your CS-Cart store isn’t just frustrating – it’s risky.
Every new campaign means digging into your code again, adding yet another snippet, and hoping nothing breaks. The result? Slower site performance, messy code, reporting inconsistencies, and wasted time that could’ve gone into growing your business.
That’s why we built the CS-Cart Google Tag Manager Pro – a smarter way to manage all your marketing and analytics tags in one place. With a single, seamless integration, you gain the full power of Google Tag Manager directly inside your CS-Cart platform – no more manual edits, no more cluttered code.
The outcome? Faster campaign rollouts, fewer mistakes, accurate data, and a clearer picture of customer behavior.
Whether you’re running ads, tracking conversions, or testing new channels, this extension puts flexibility and control in your hands – so you can make confident, data-driven decisions and scale with ease.
Steps to Install the add-on
CS-Cart’s Admin panel >> Add-ons >> Downloaded add-ons >> Settings >> Manual Installation >> Zip Upload >> Upload & Install

Note: Client will find the add-on in the format of .zip only.
Google Tag Manager >> Settings >> Configure GTM ID, Header Script, Body Script, and Events
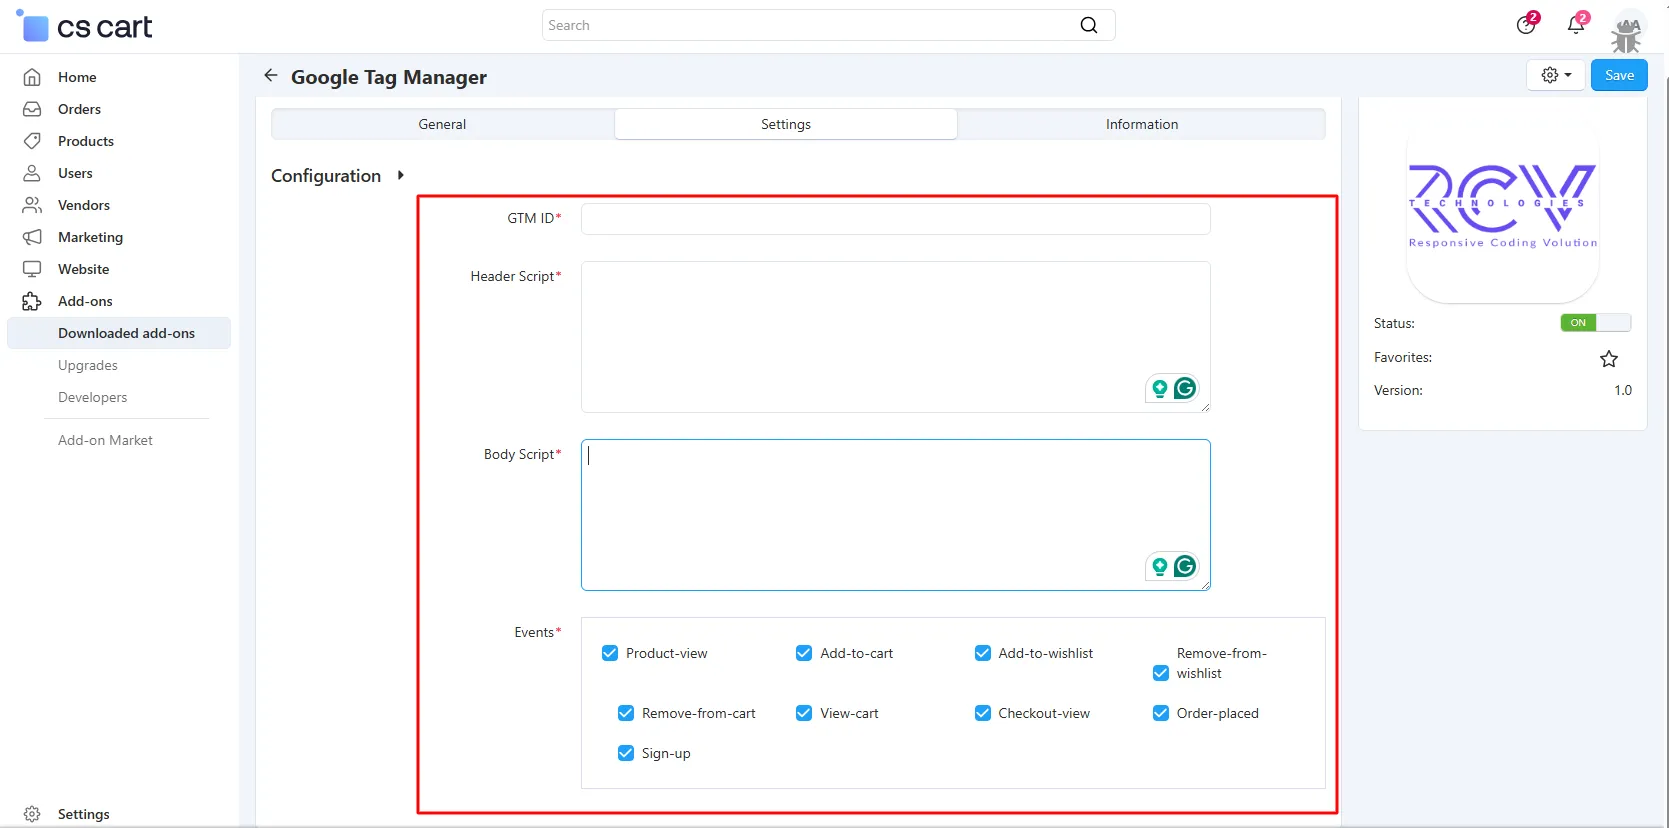
Rules Configuration:
Note: Add the event as per the requirements.
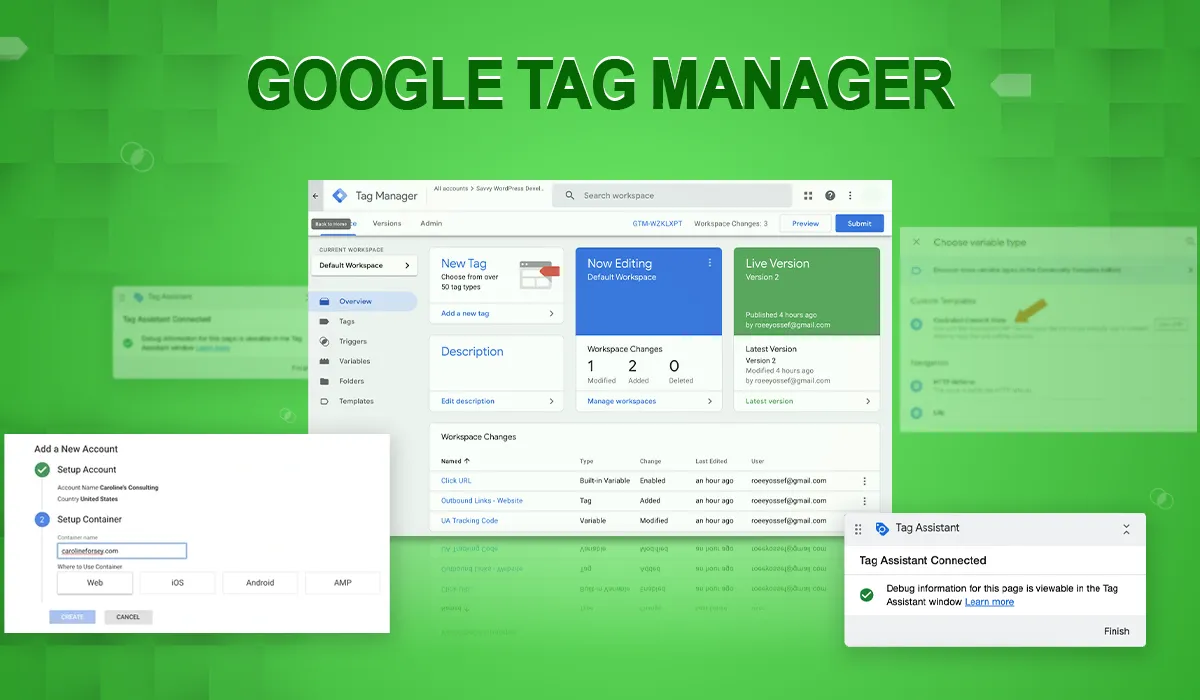
Getting started with Google Tag Manager is quick and simple. Just follow these steps:
Head over to Google Tag Manager and log in with your Google account.
Click “Create Account.”
Enter your Account Name (usually your company or store name).
Choose your Country.
Give your container a name (most people use their website URL or app name).
Select the platform where you’ll use GTM:
Web (best choice for your CS-Cart store)
iOS
Android
Server
Review Google’s Terms of Service and click “Yes” to continue.
Once created, you’ll land in your GTM workspace.
Your unique Container ID will appear at the top-right of the screen (or under the Admin section).
It looks like this: GTM-XXXXXXX
That’s it! Copy your GTM Container ID and paste it into your CS-Cart GTM Extension settings – no coding required.
Step into smarter, faster, and more efficient ways of working.
Let your store anticipate customer needs before they even click.
Only logged in customers who have purchased this product may leave a review.


Reviews
There are no reviews yet.